 From EFI to Carburetor Conversion for Sportster®
Hi there, if you found this site, you are either just curious or already into trouble.
Your EFI Sporty just runs like shit, your dealer cannot help you. You tried out the Power Commander, Fuel Pak, Screaming Eagle Race Tuner, Twin-Tuner, Twin-Tuner II, and what the heck.
You've already been to all the internet fores, tried all those fuel-maps, spoke with tech-support 3 times a day - for weeks, still no success.
You are sick and tired of the high idle-rpm that makes your Harley sound like a vaccuum cleaner.
You just want to ride your bike with the pipes you like best.
Well, we hope that you just came out of curiosity, however should you be in trouble, just relax.
We're here to make your bike running again. And you're definitely up for a surprise how much better it will run, better than anything you've experienced before.
Express Order
If you're in a hurry you can order your AMM-P3 using below paypal button. Shipping will take 2..10 business-days depending on your location.
In 2004
Harley-Davidson® updated the Sportster® motorcycle. The nosecone on the newer Sporty engines is just for keeping the looks as the cam-sensor disappeared and was replaced by a crank-sensor.
Sportster engines prior to 2004 are compatible with the AMM-IMMOGNITION system.
The new crank-sensor setup of the Sportster®-engine is exactly similar to that of the Harley® Twincam engine, which means that all 2004-up Sportsters are compatible to the AMM-P3 ignition system.
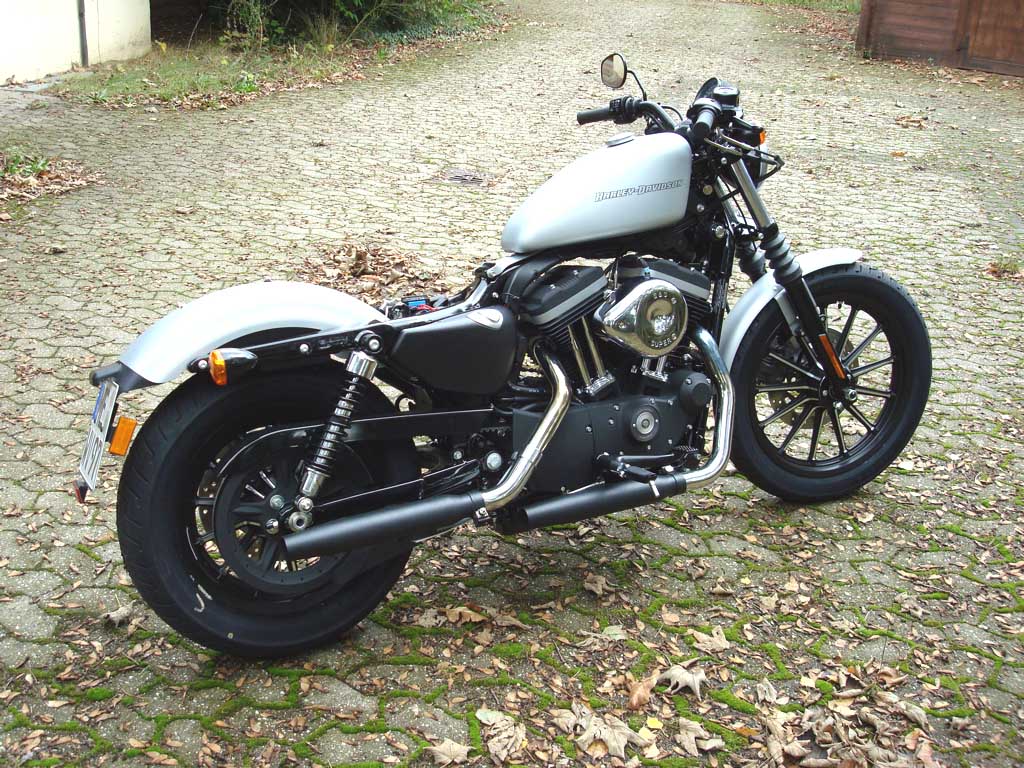
This instruction deals with upgrading fuel-injected Sportsters to carburetor, using the AMM-P3 ignition module.
NOTE: This modification may not be street legal in some states or countries. If in doubt, check out your local police station. You may also lose your original HD warranty. Basic tools and experience are required for this modification, and it is carried out at your own responisbility.
This is an "as fast as you possibly can do it" type of instruction, which preserves other electric functions of the bike as fuel-gauge-display, turn-signals, speedometer and security-module. We designed this instruction to be completely reversable.
You need
- EFI Sporty to be upgraded
- Carburetor of your choice with matching manifold
- AMM-P3 ignition
Your carburetor choices are (among others): Keihin CV (stock), Mikuni HSR40 or HSR42, S&S Super-E or Super-B carburetor etc.
If you intend to use the Keihin-CV or Mikuni HSR carburetor you need a manifold kit #27004-88A (comes with gaskets) and you'd also want the #29782-07A air-filter assy, if you would like to keep the stock air-cleaner cover and looks.
I have tried the above Keihin mod with a 170 main jet, 1.8mm needle lift (using 2 tiny washers), and idle air mixture screw 2 revs out -> Excellent !!
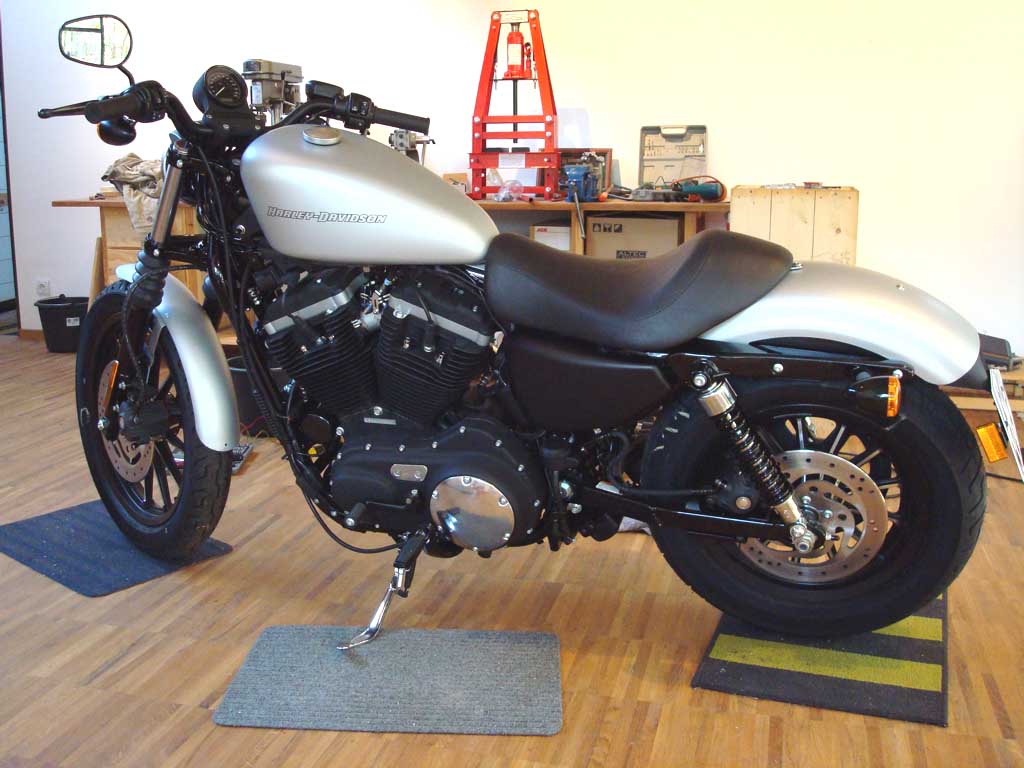
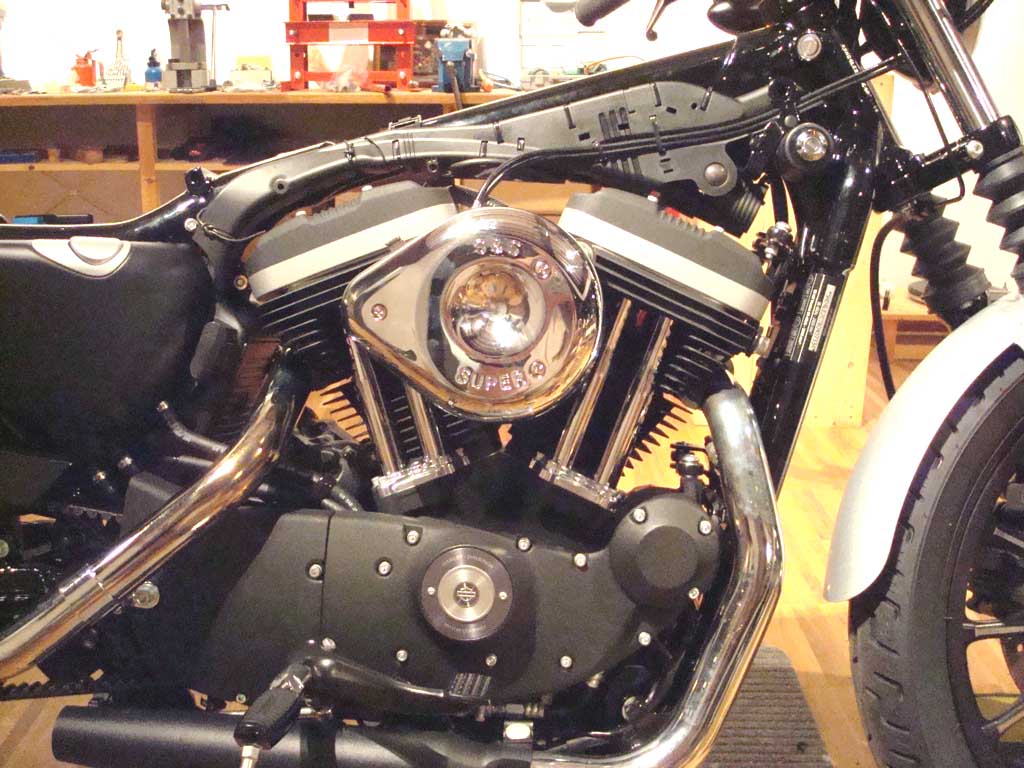
In this instruction, just for fun, we use the S&S Super-E carburetor, because there's a readymade kit available for 2004-up Sportys (S&S #11-0470) and because S&S is such a nice company :-)
Here we go:
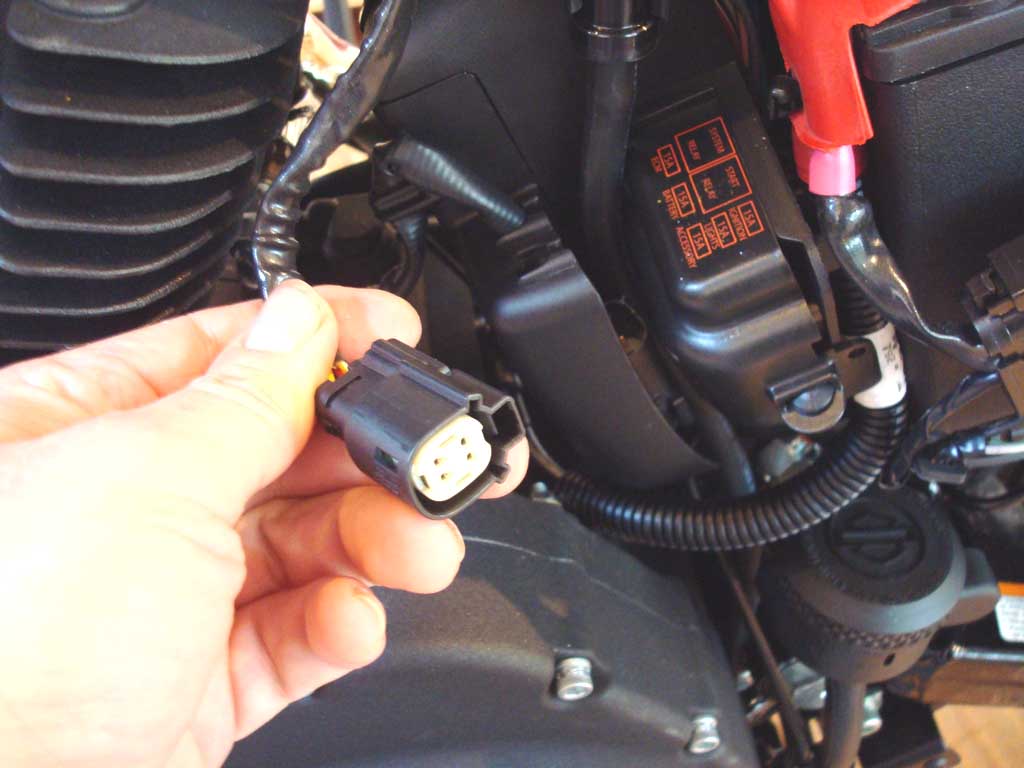
Remove seat and battery cover on left side of motorcycle. Pull fuel-pump cable out of connector and start engine. Engine will stall after about 2 seconds, because fuel pump is inactive. This way we have removed pressure from the fuel system and it is safe to disconnect fuel hose from tank.
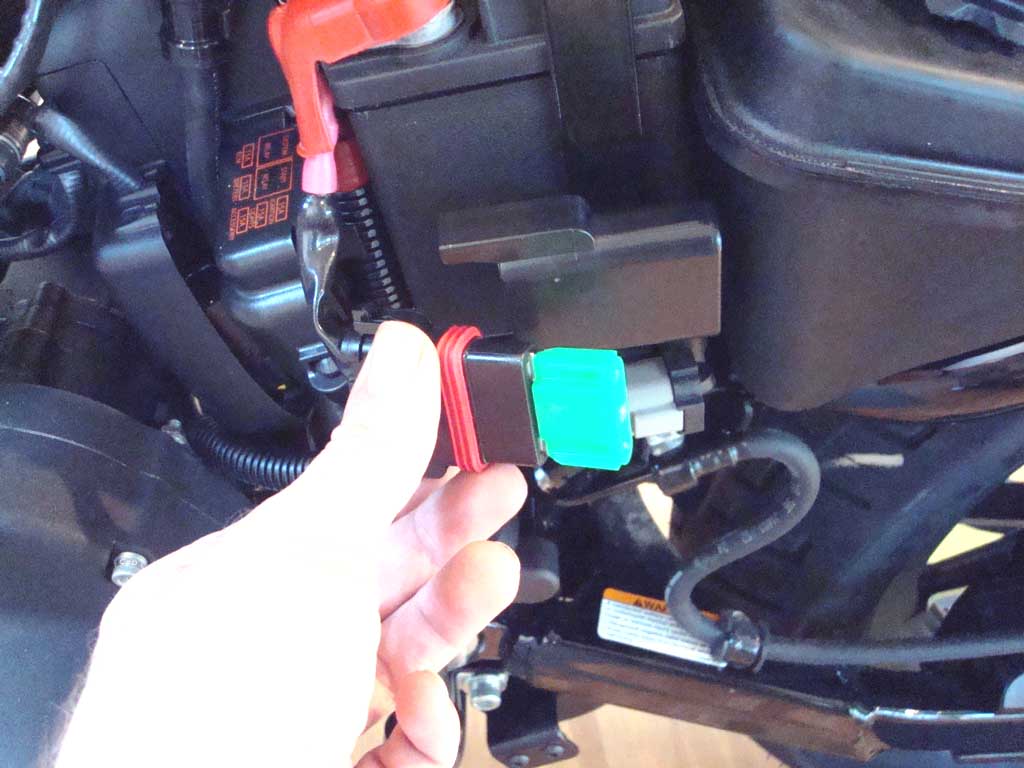
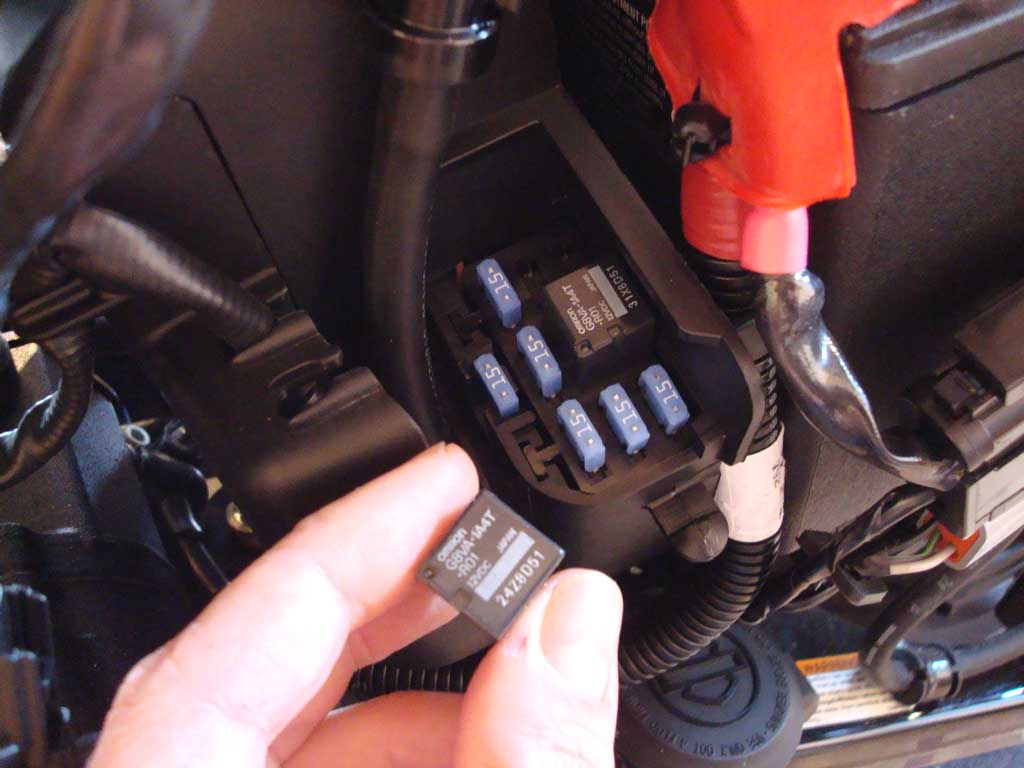
Pull the main fuse (green) out of the fuse holder. You will hear the alarm siren once, and then fade into silence. So much about the security alarm system ;-)
Now that the tank is disconnected, unscrew the clamp that holds the fuel-hose to the injection body and pull out hose.
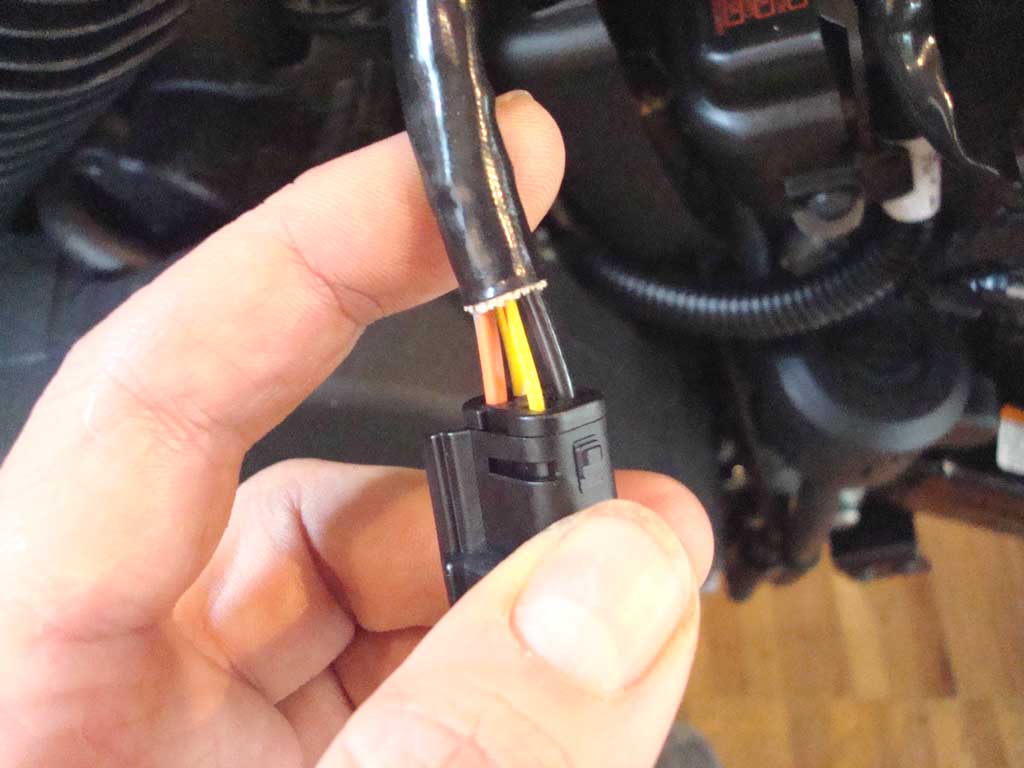
For speed-draining the tank, we can use the fuel-pump do its last job. Take a look at the fuel-pump's connector. There are 2 small wires for the fuel-gauge and 2 bigger wires (black and orange) that drive the pump motor. Connect black wire to minus and orange wire to +12Volt. This will turn the fuel pump on and your tank will be drained within 2 minutes.
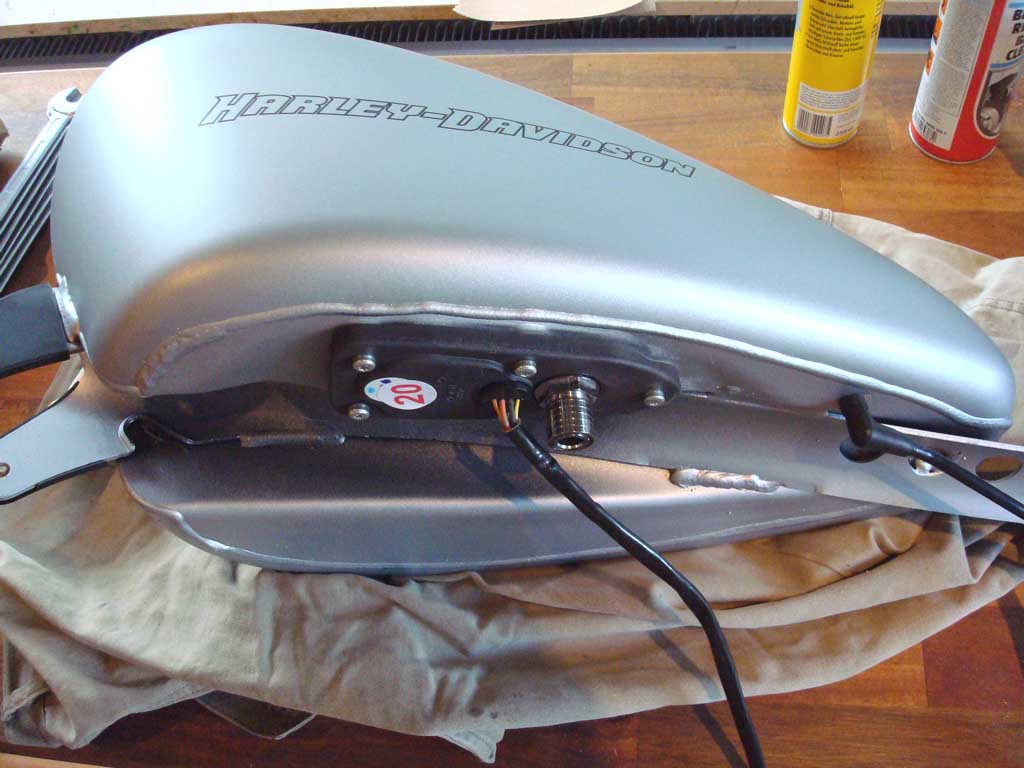
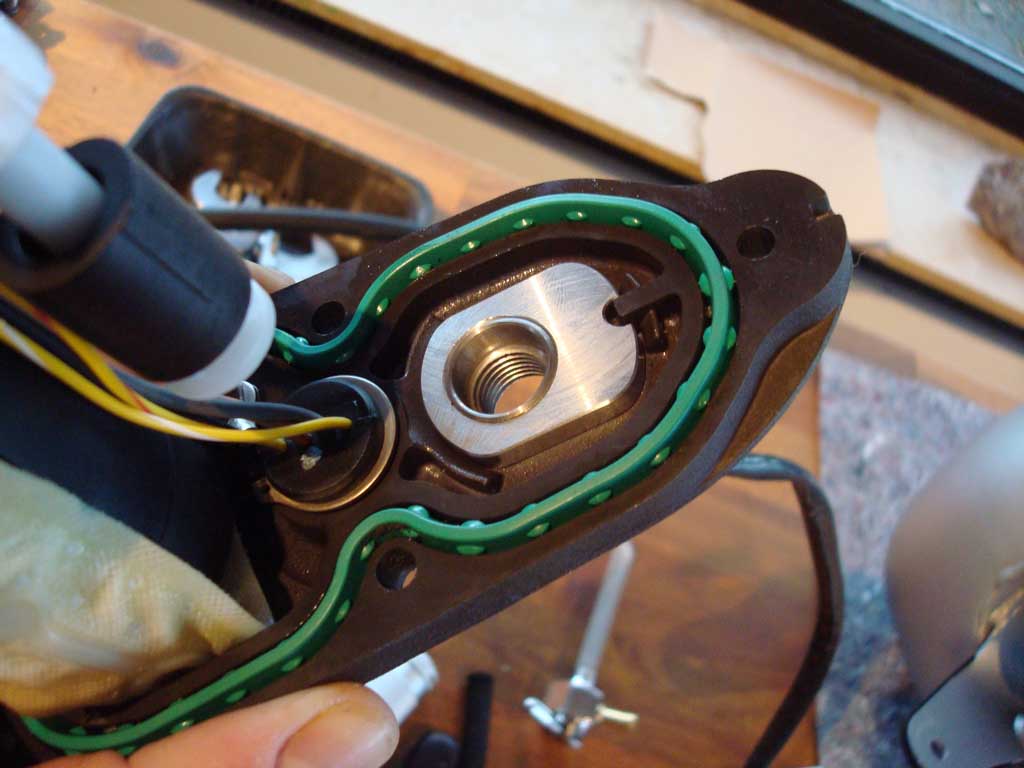
Take off tank and put it on a bench, as shown. Unscrew fuel-pump base and pull entire pump assembly out of tank.
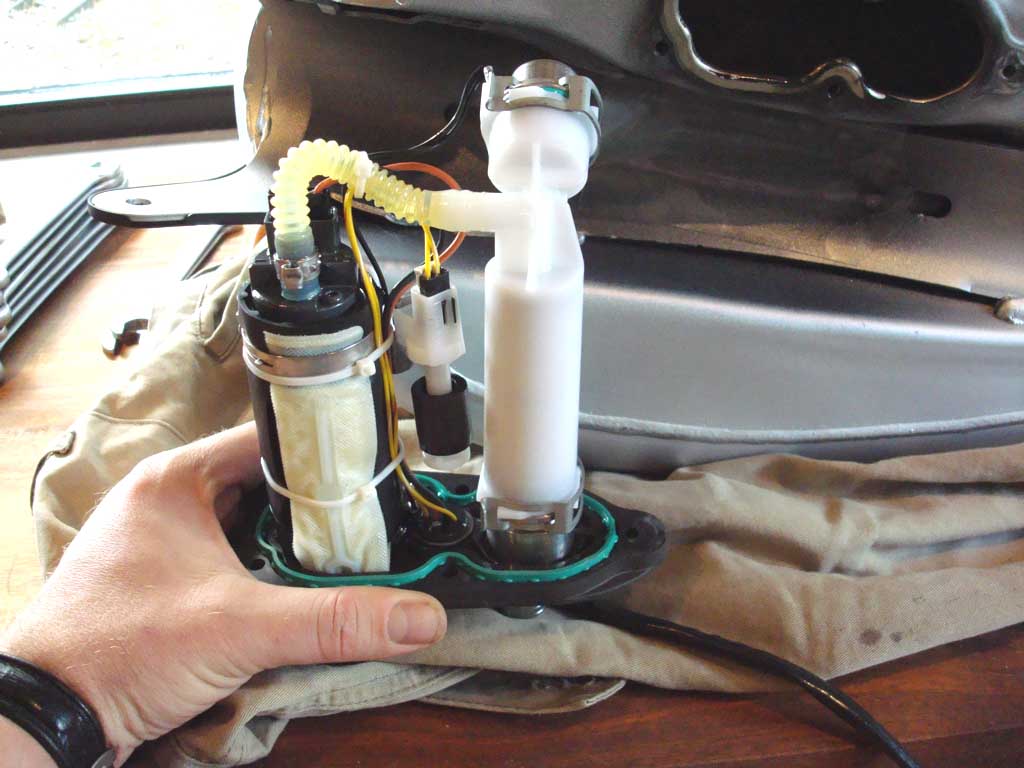
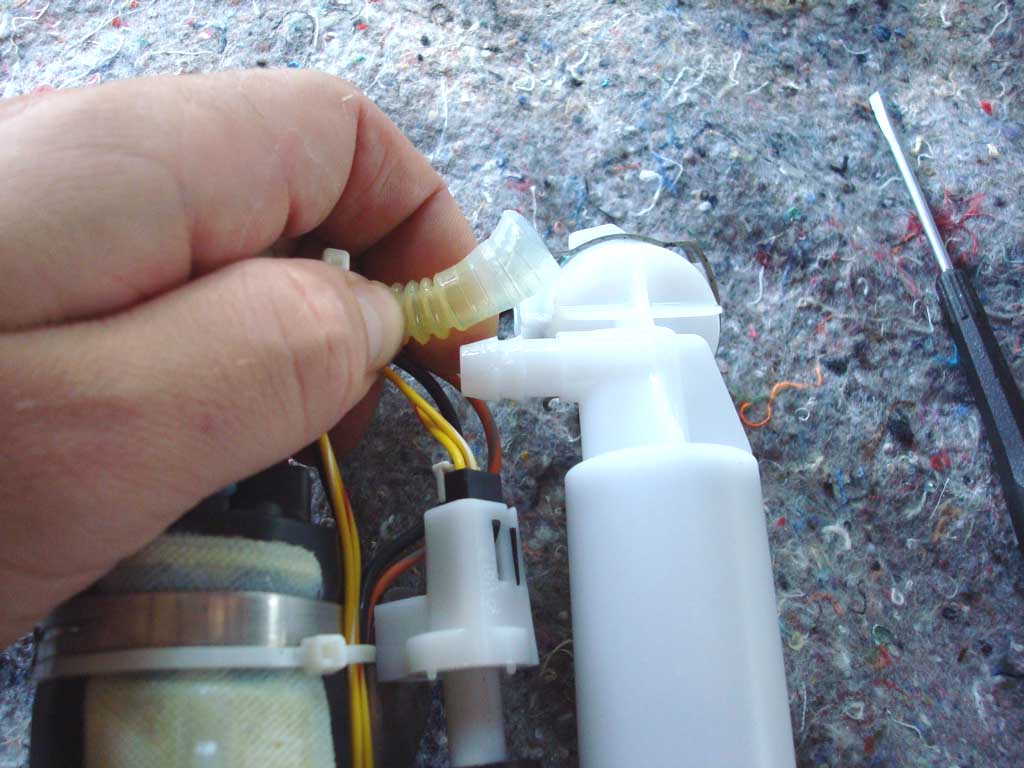
With a hot-air blower gun heat up the platic hose a little (don't burn it). The warm hose can be pulled from the white filter housing without destroying it.
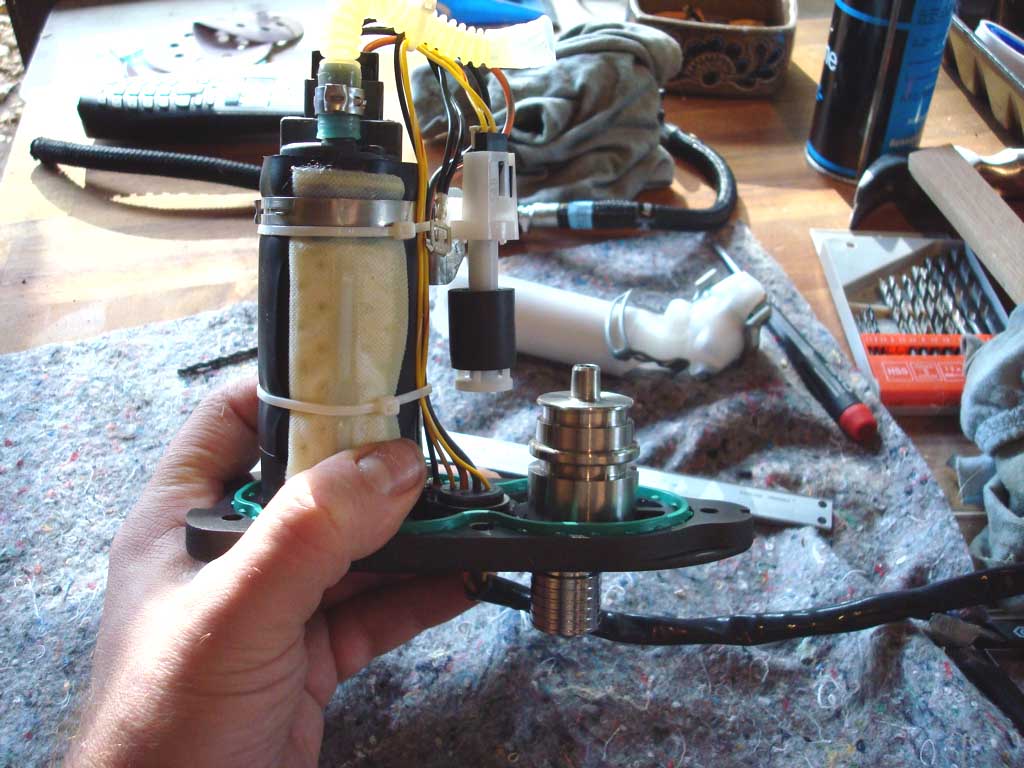
Pull the black grounding-wire from the pressure regulator and unclamp and remove the complete white filter housing. Gasoline can now flow directly through tank outlet.
Reinstall the modified pump module. When you put back the tank on the bike, reconnect the fuel-pump-module cable and pull the system relay. This way, you have fuel-gauge functionality, but the pump will not be turned on. Keep the relay, it may serve you as a replacement in case your starter relay goes bad.

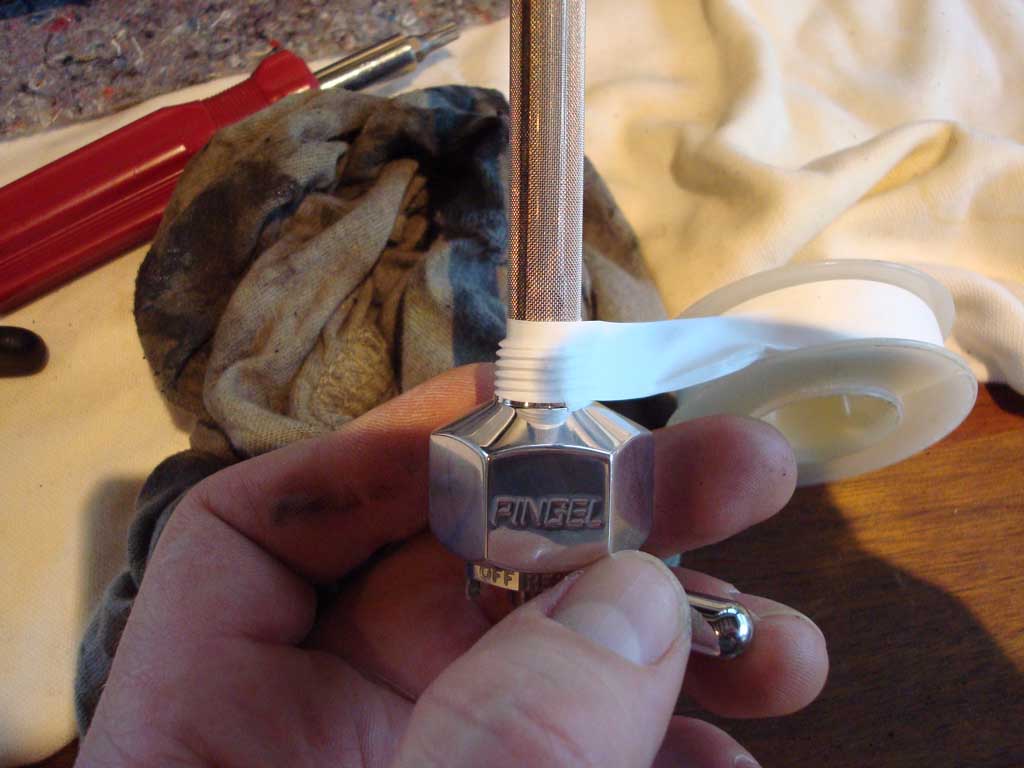
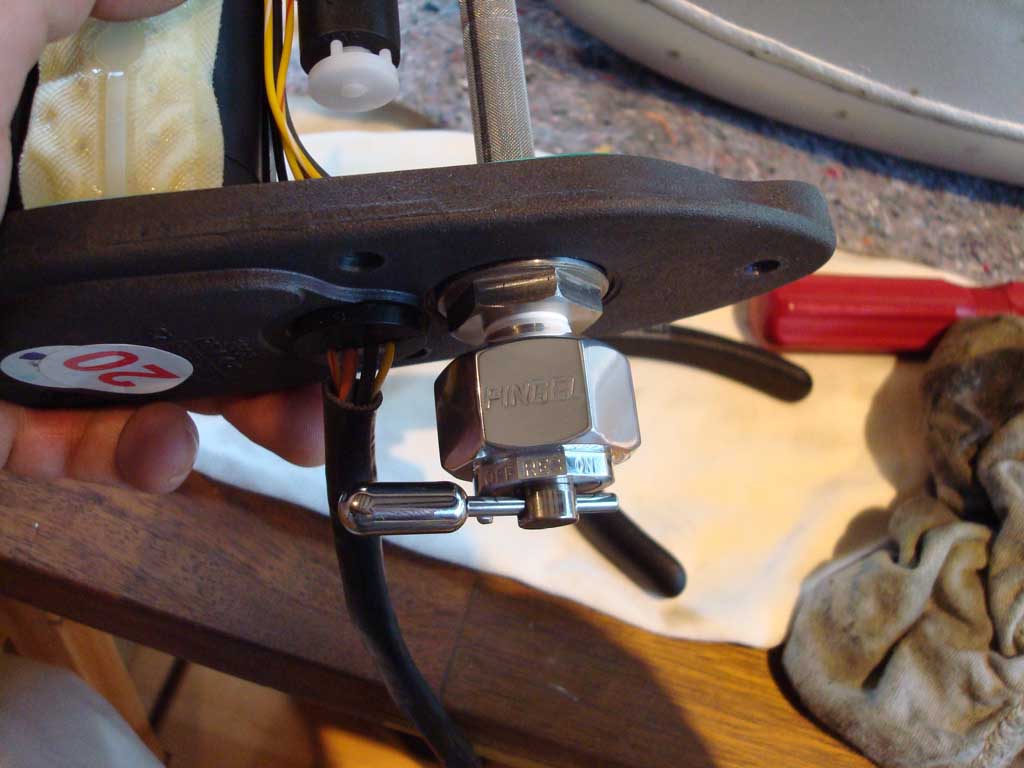
Alternatively you can install a real petcock.
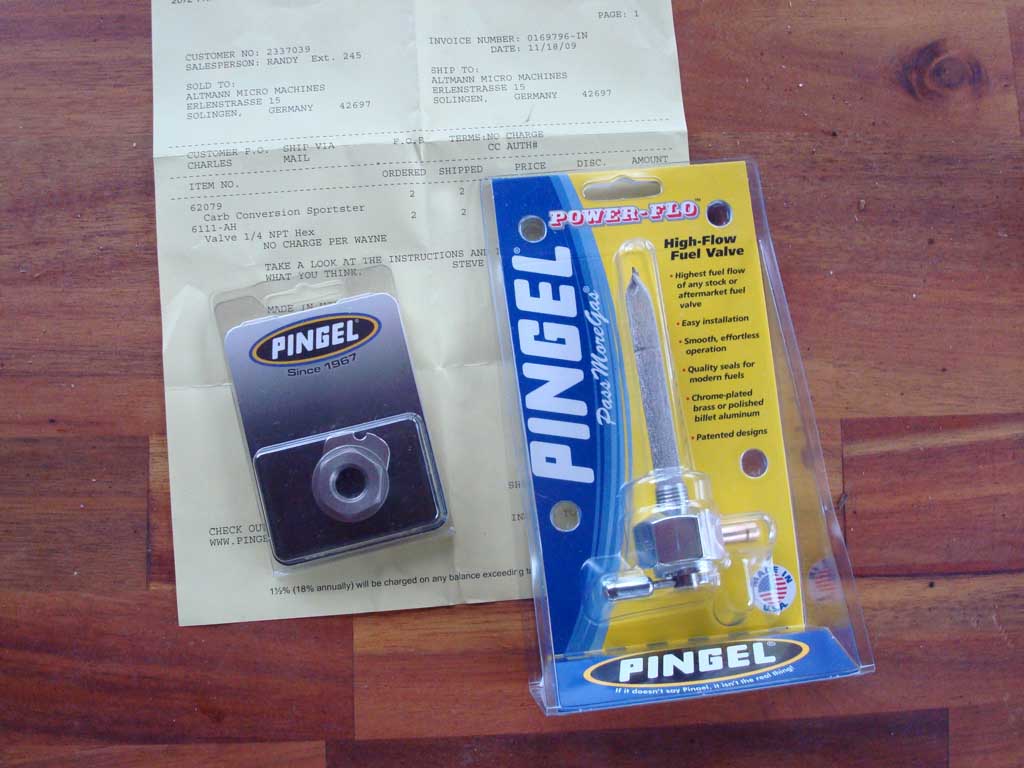
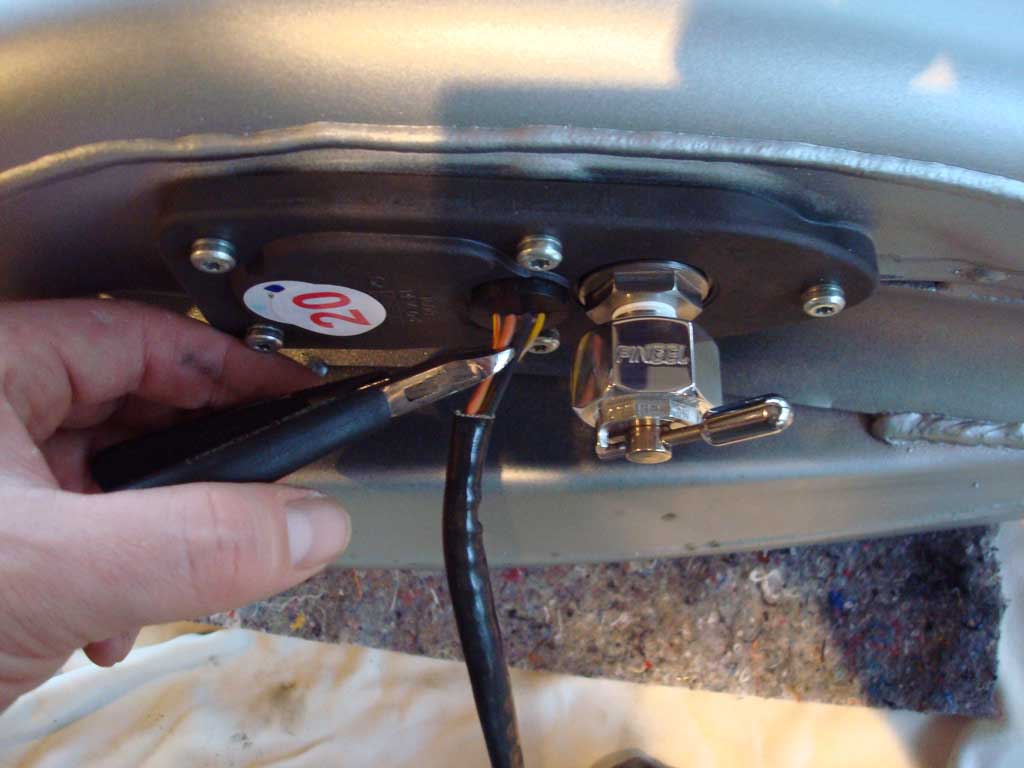
Pingel has supplied us with a polished aluminum petcock and stainless steel mounting adapter especially designed for injected Sportsters. The Pingel part numbers are 62079 (Carb Conversion Sportster) and 6111-AH (Valve 1/4 NPT Hex). You can order the parts directly from the Pingel-website. Needless to say, that this kit is very easy to intall and of superb quality.

With a real petcock that has a reserve-function you do not necessarily need the fuel-gauge and you can remove the pump and gauge for that little extra tank volume.
If you decide to remove the pump or fuel-gauge, you will still have a couple of wires hanging around in the tank. If you want to cut them, it is important to also cut them outside of the tank. We don't want anybody to connect electricity to wires that hang loose in your tank, which could cause a spark and lead to an explosion. So there are two options 1) either keep the pump and fuel-gauge unchanged in your tank, with wires connected or 2) remove them and cut the wires directly where they exit the tank.
Time to put on some music or have a beer ... or both :-)
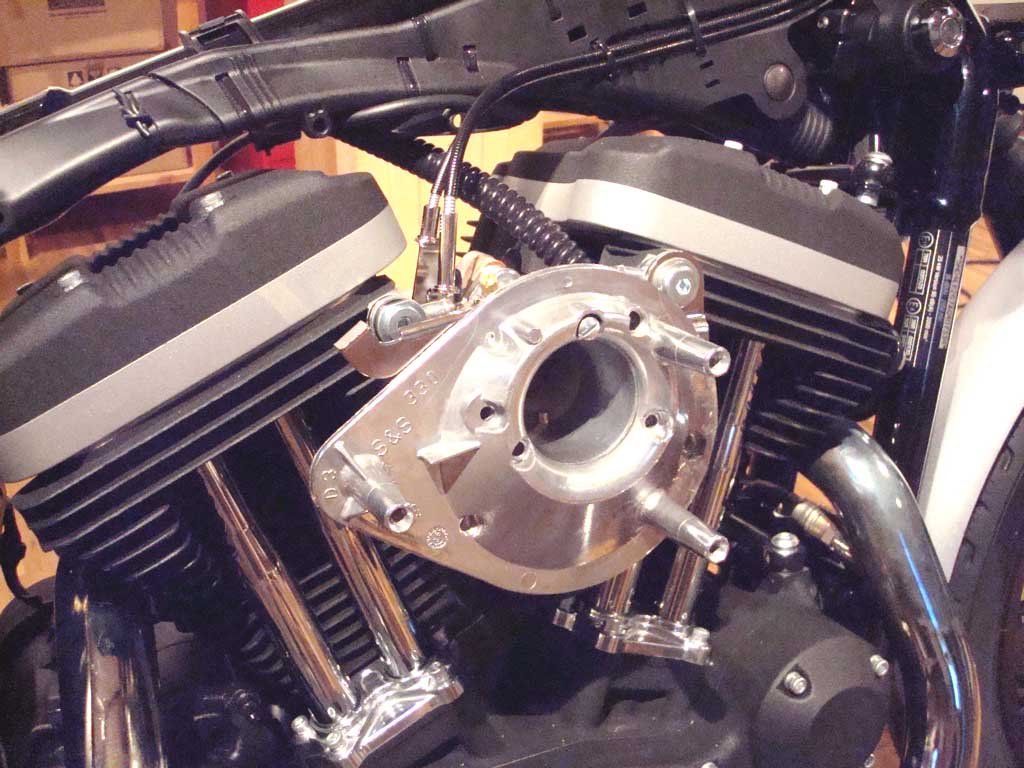
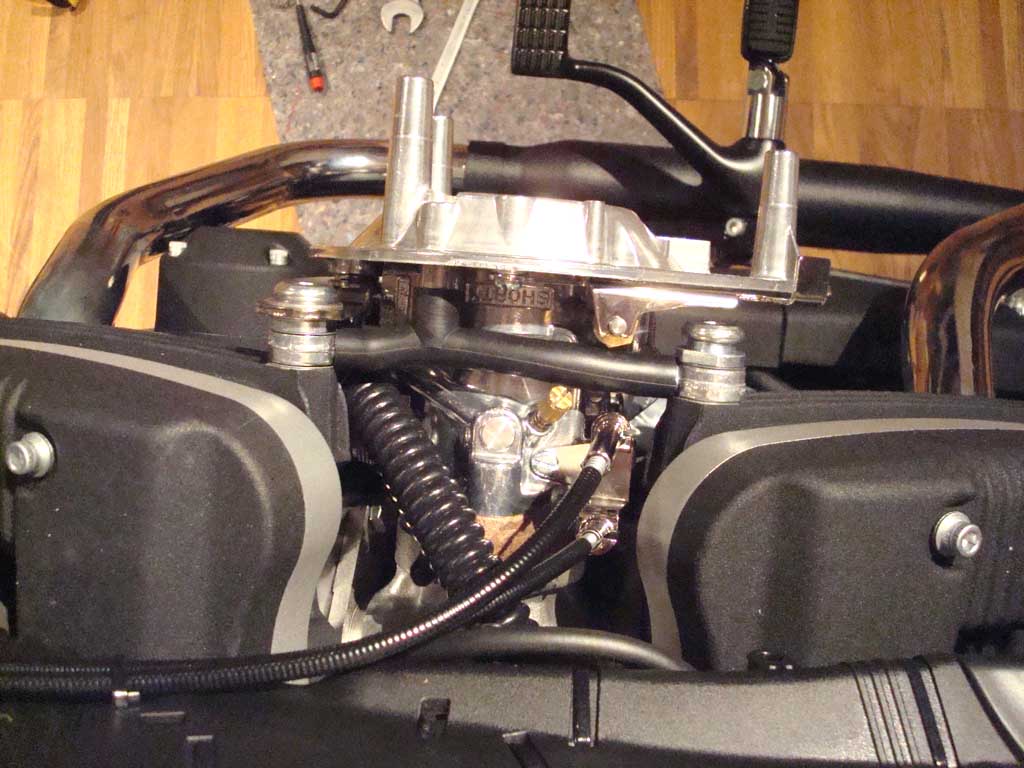
Remove air filter cover, filter element, housing.
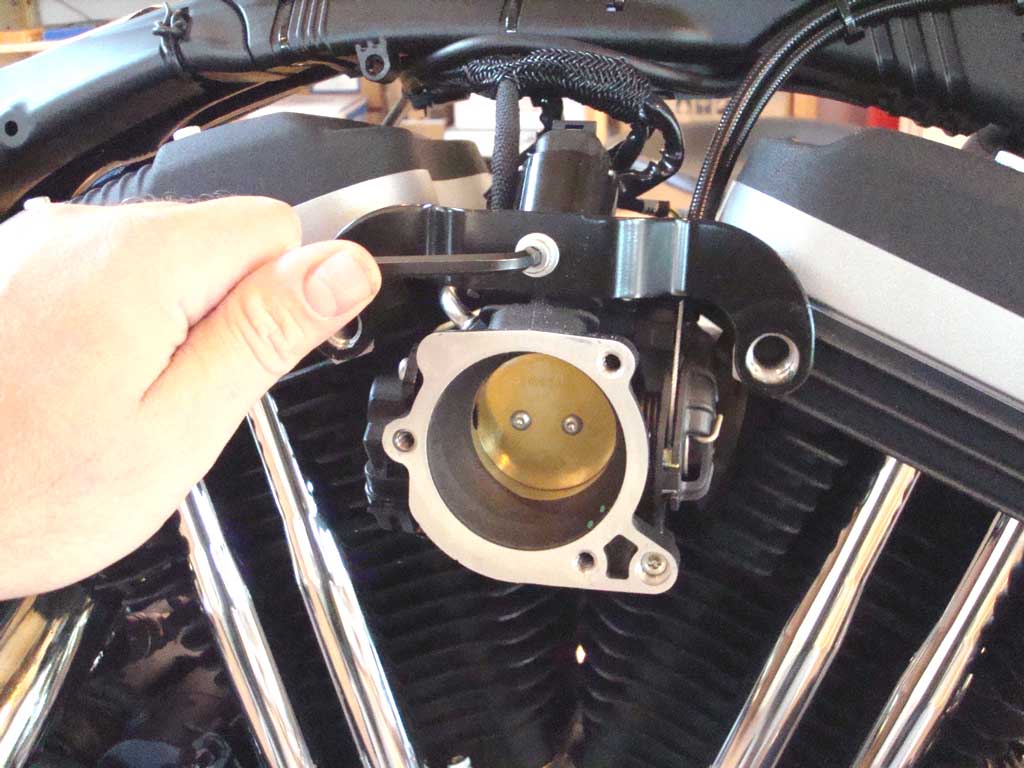
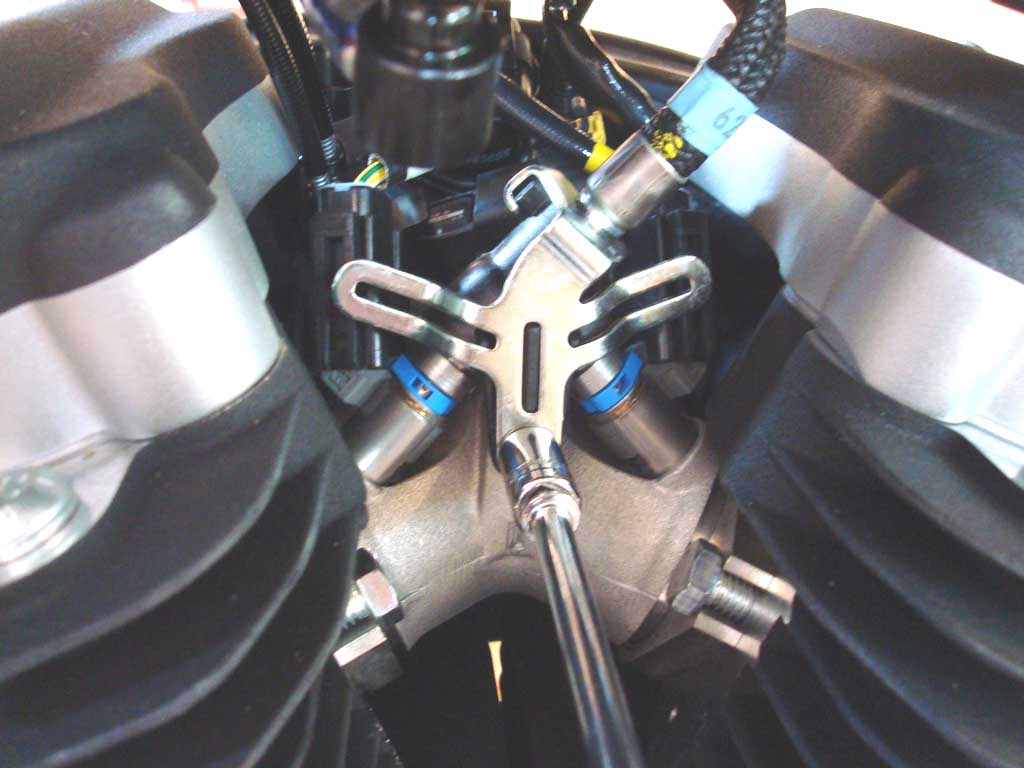
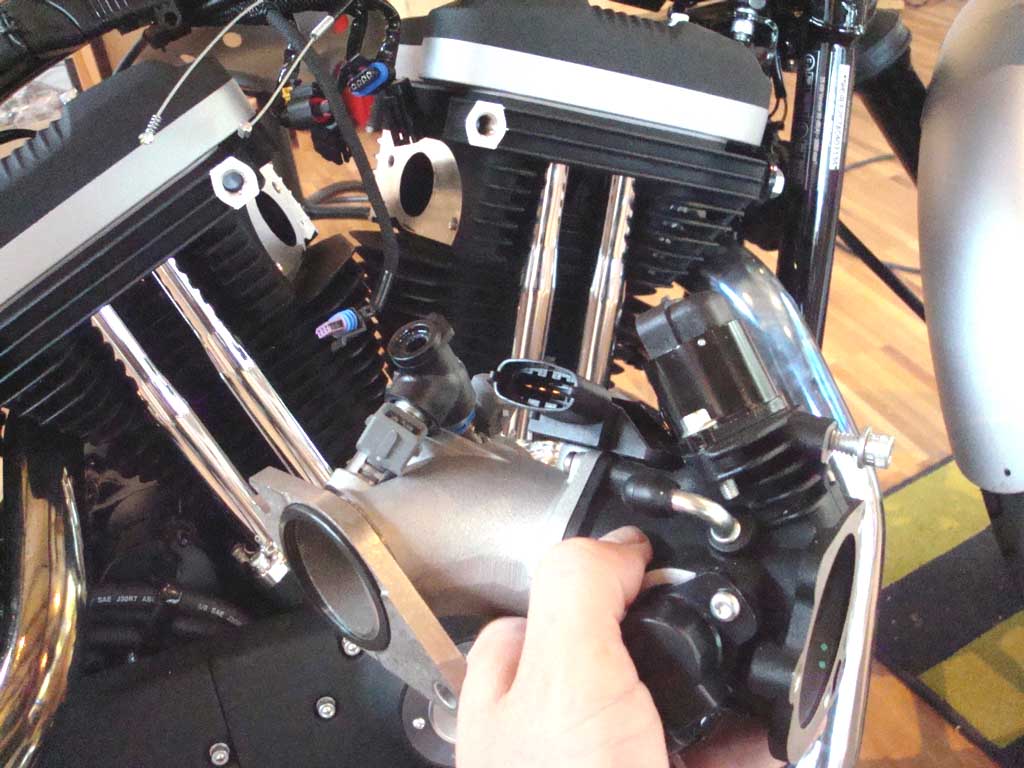
Unscrew bracket from injection body. Unscrew manifold. Gently pull out injection body, disonnect all cables and throttle wires. Pull flanges from EFI manifold and put the complete injection body to storage ... or wherever you would like to throw it ...
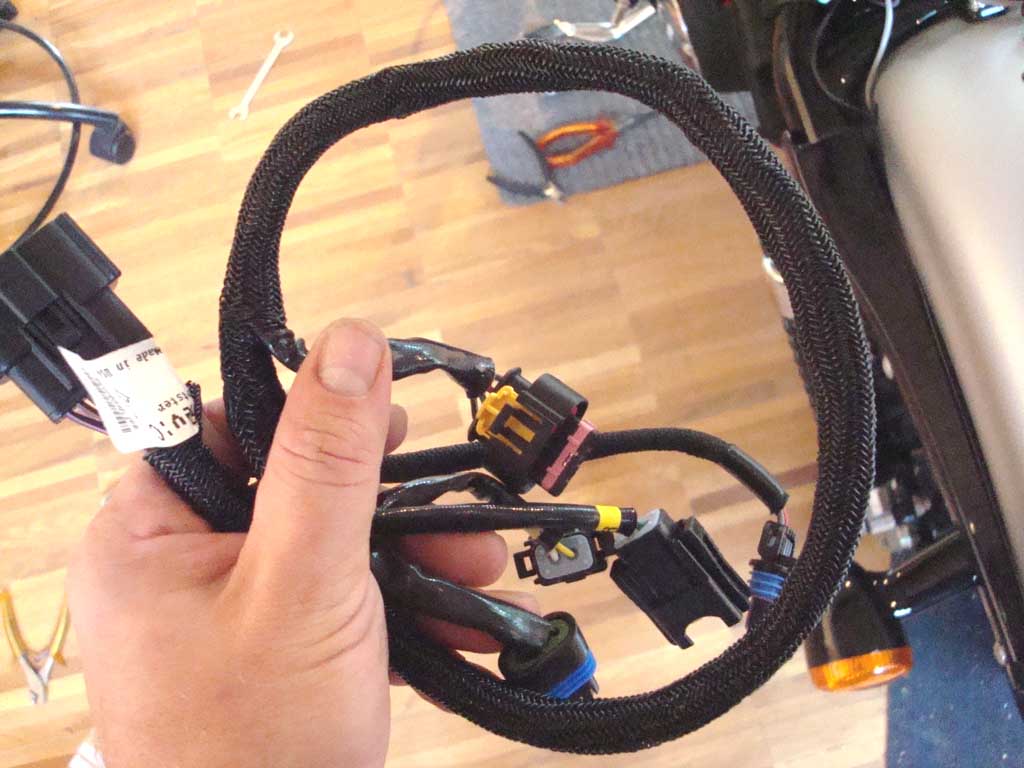
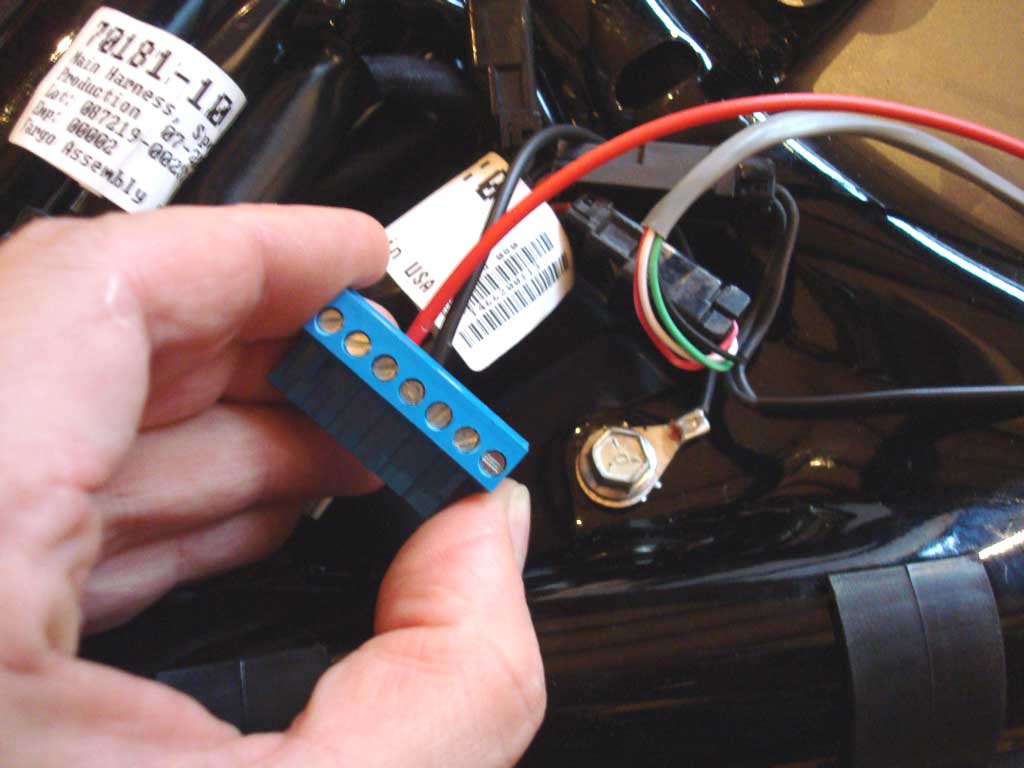
Under the seat there is a big connector that connects the EFI module with the injection body wire-harness. This allows you to unplug and remove the entire wire harness for a clean look.
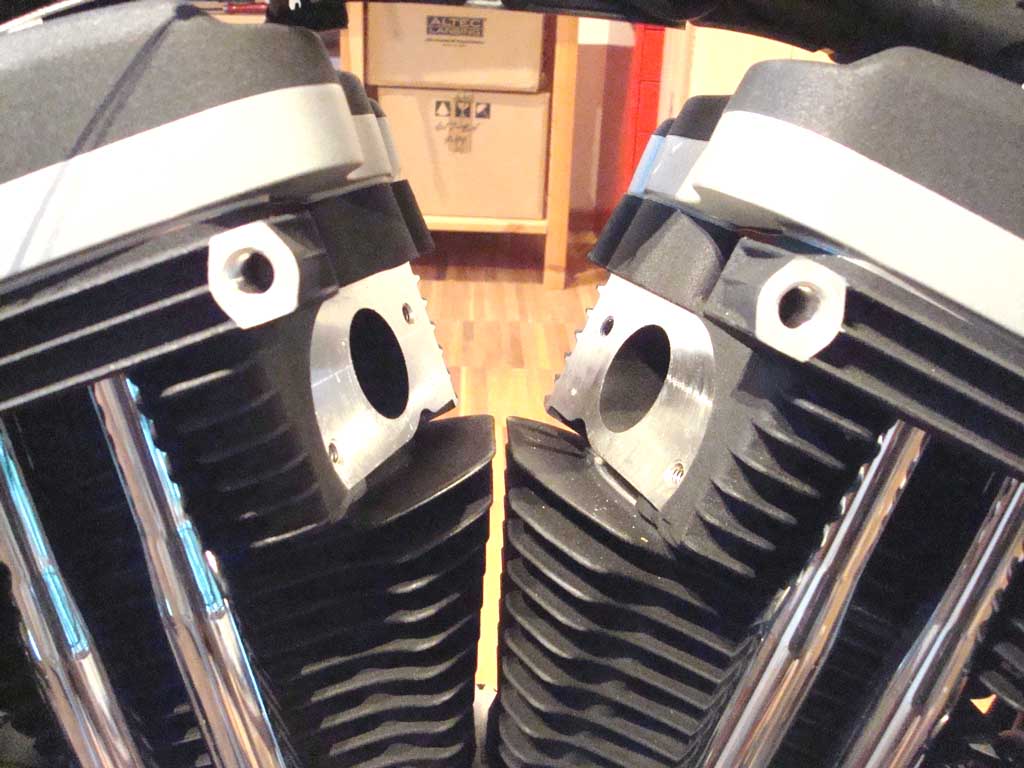
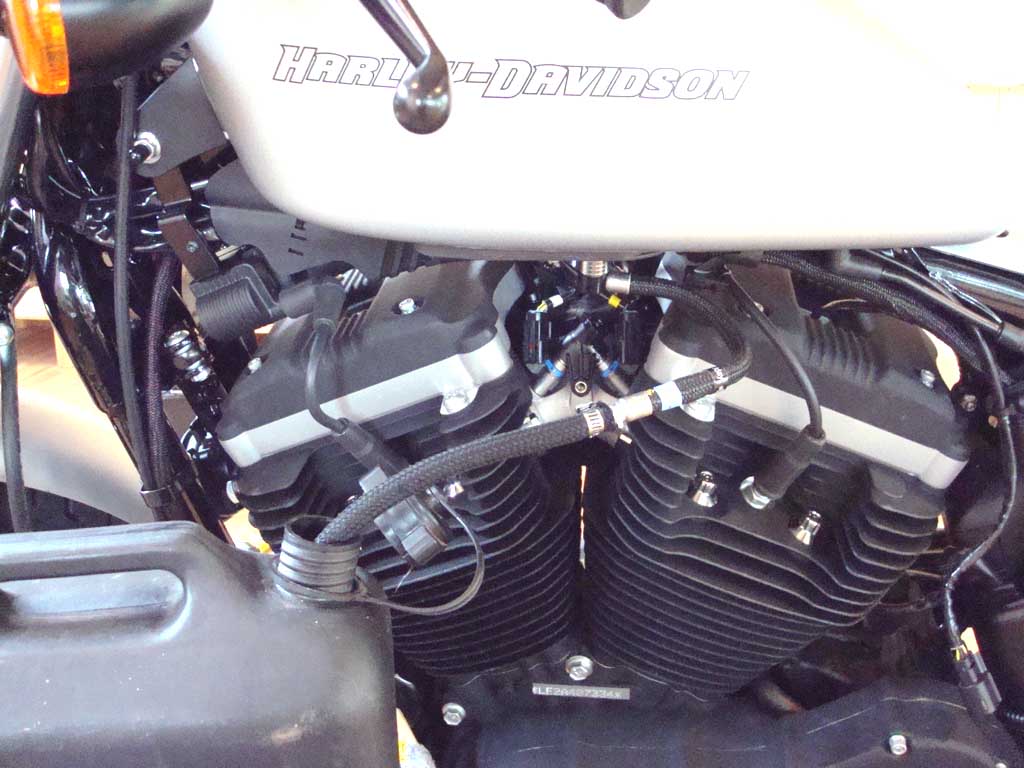
Install carburetor. I use the stock throttle-wires on the S&S Super-E carburetor, works nice ...
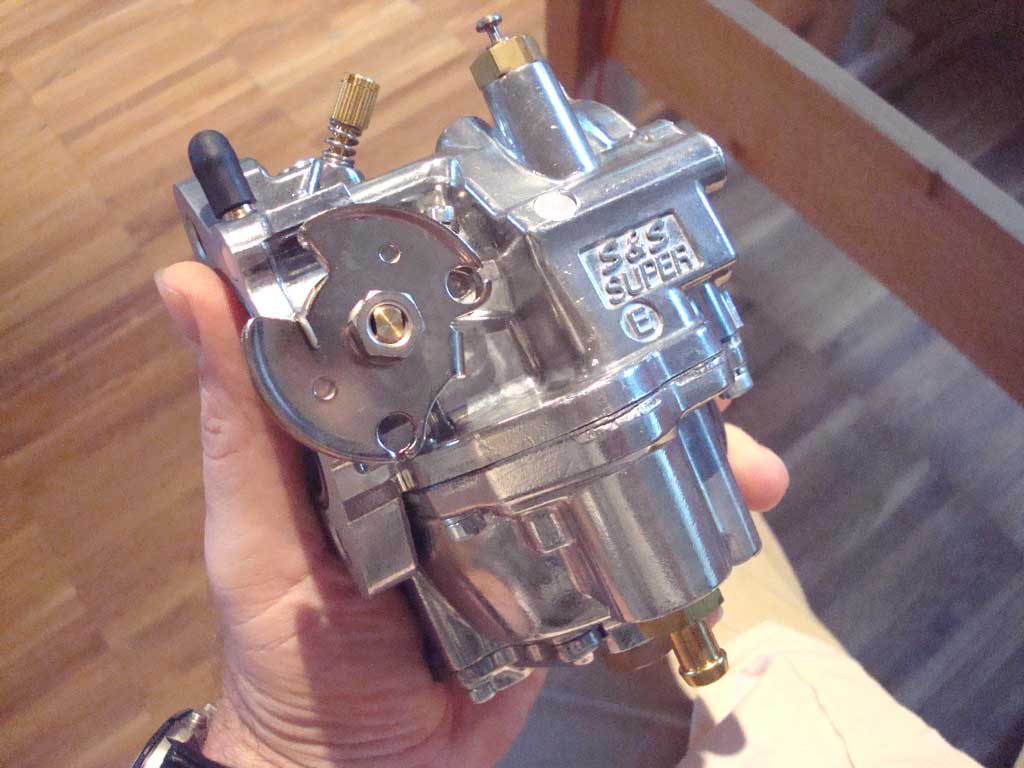
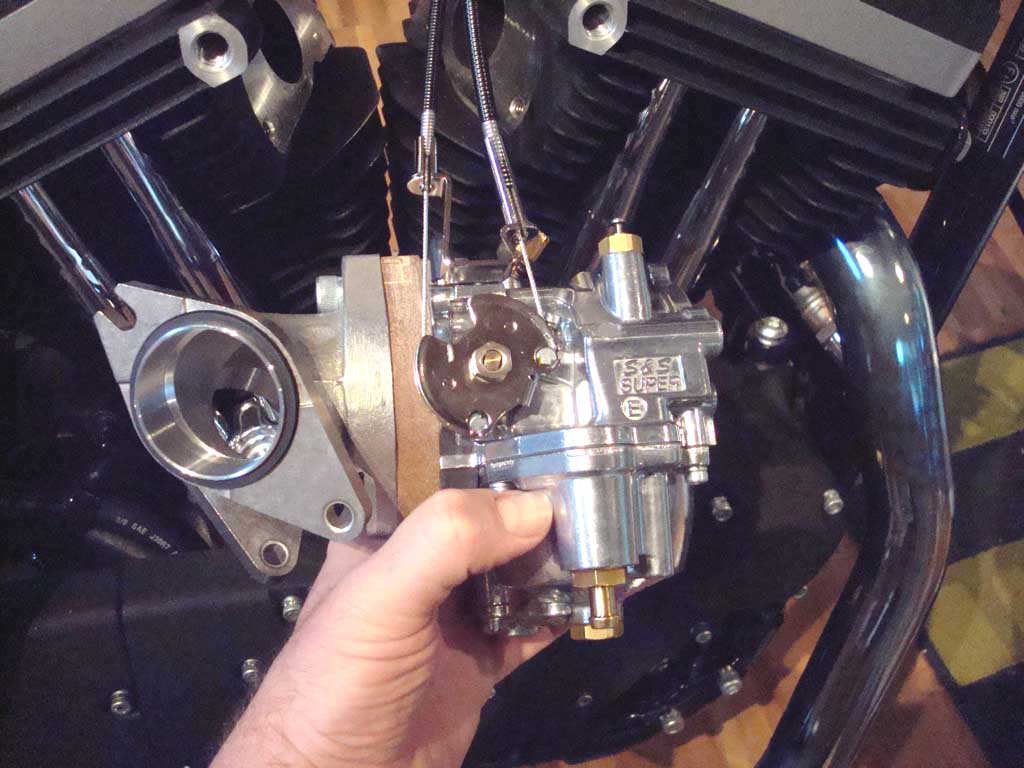
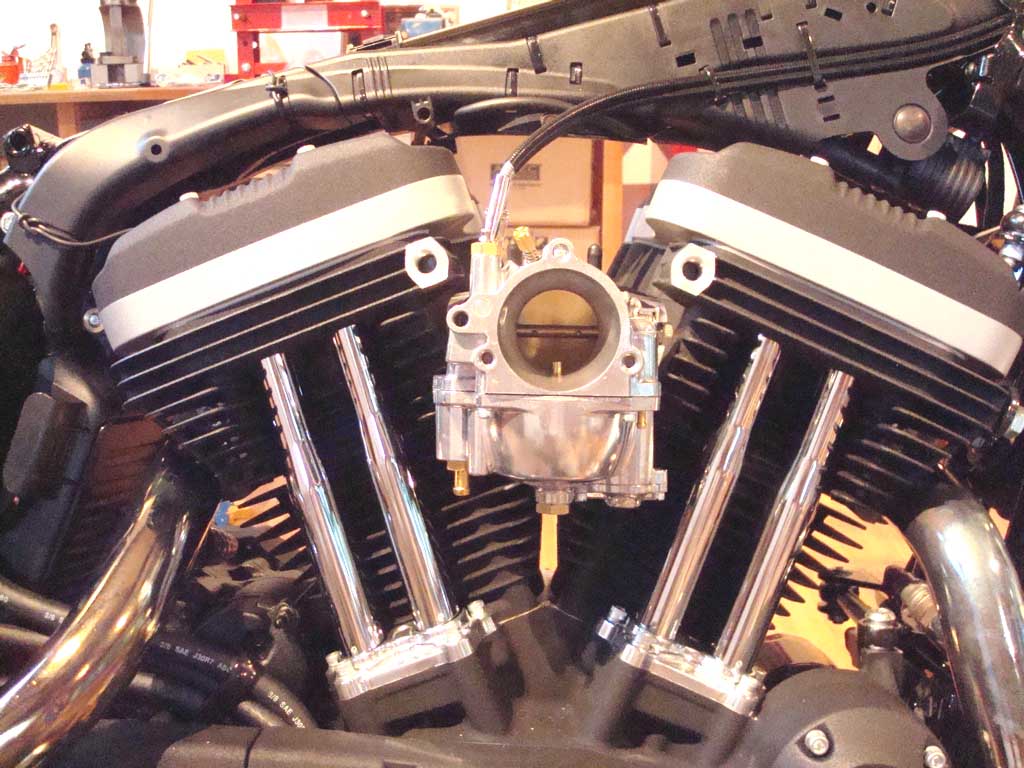
The S&S Super-E kit comes complete with manifold and instructions. Installation is easy. You need the kit for 2004-up Sportster models.
Almost done, now some electrics ...
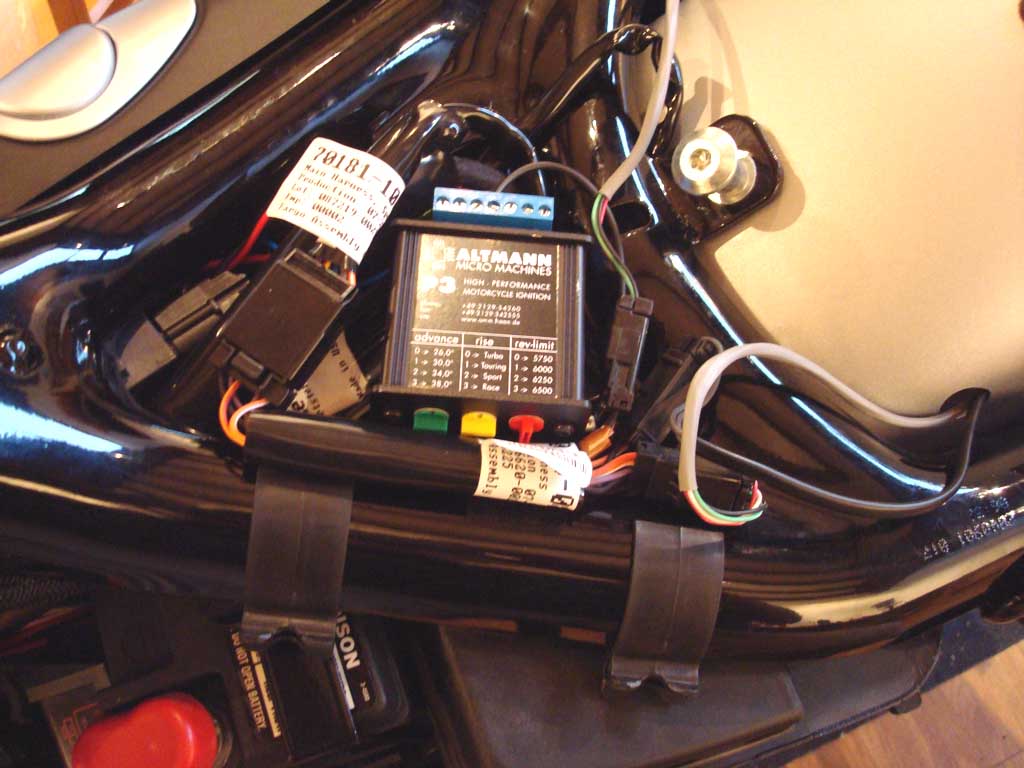
The AMM-P3 ignition gets signal from the crank-sensor and gives a signal to the ignition coil. It also needs plus and minus.
That's all.
Before you start take a look at:
-> The complete wiring plan <-
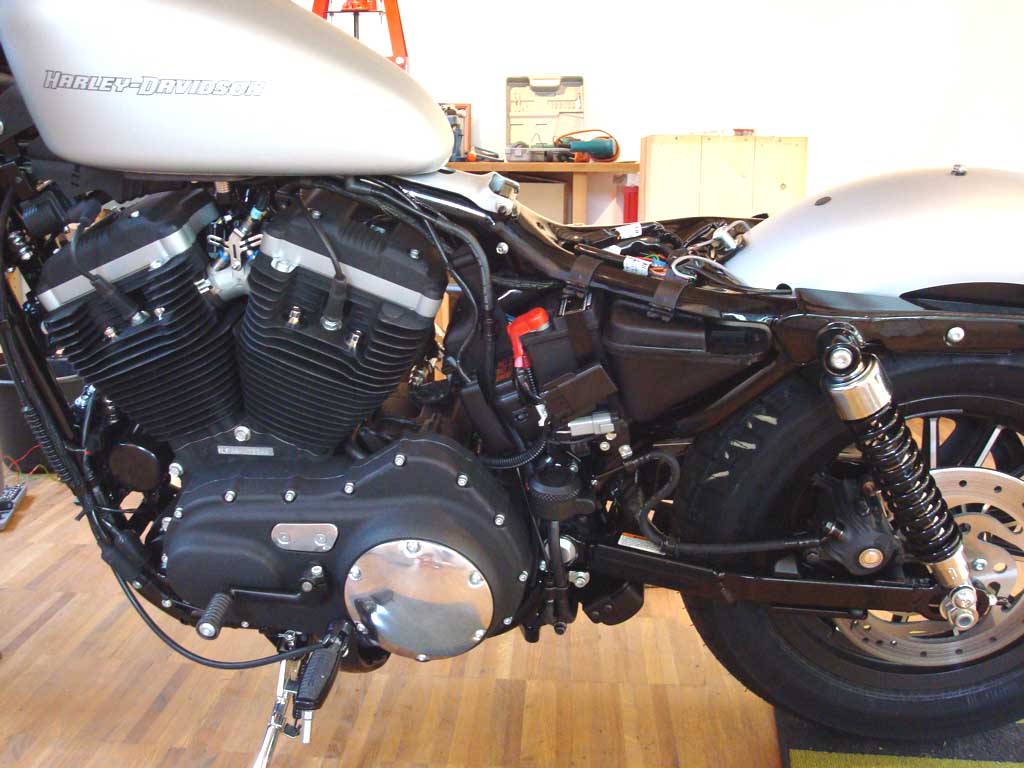
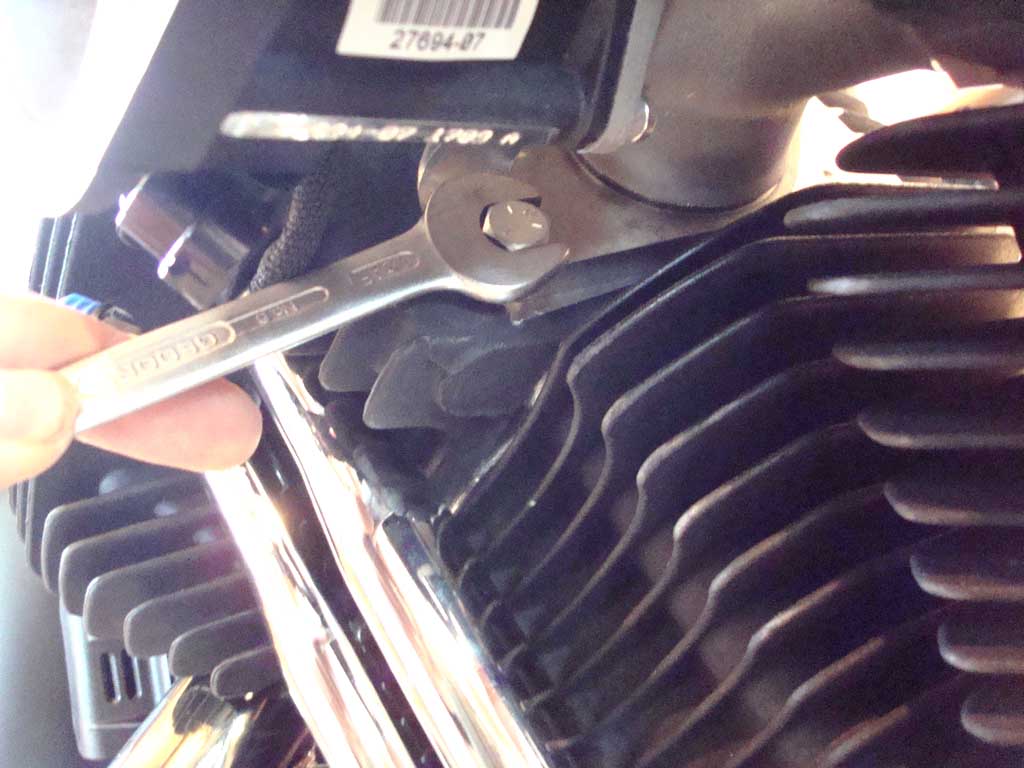
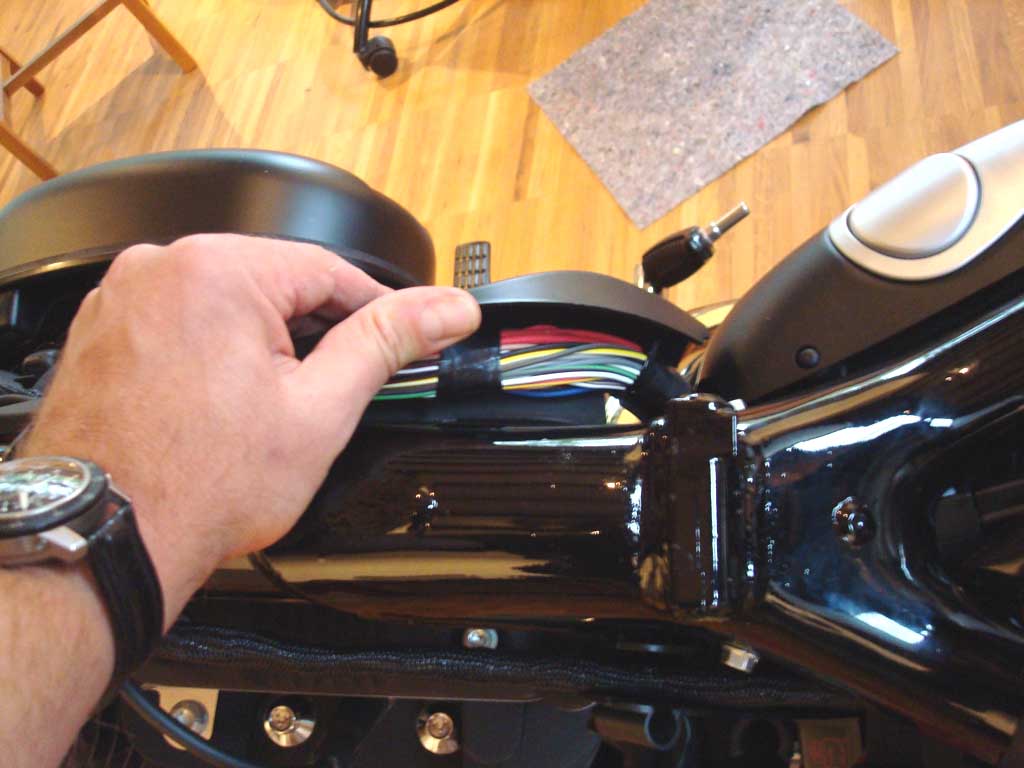
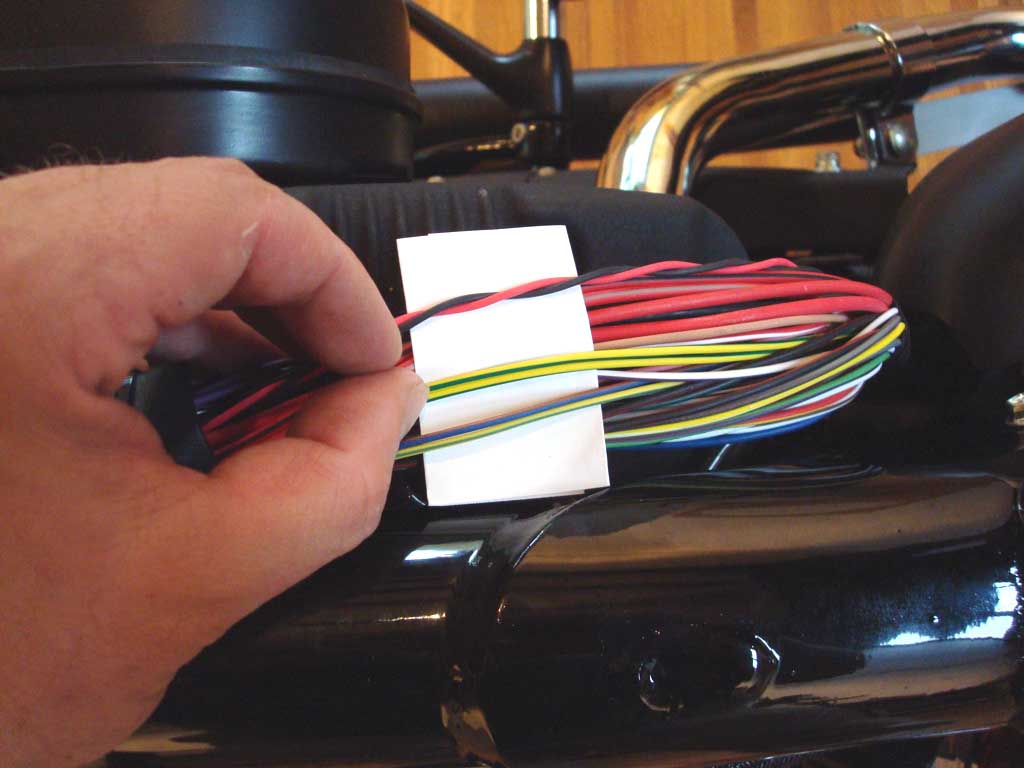
We need to locate crank-sensor and coil-wires, cut them and connect them to the P3 module. Remove the plastic wiring cover that goes right to the frame above the rear cylinder. Take away the tape that holds the cables together. I have used a piece of paper to separate the crank-sensor and coil wires from the rest of the gang.
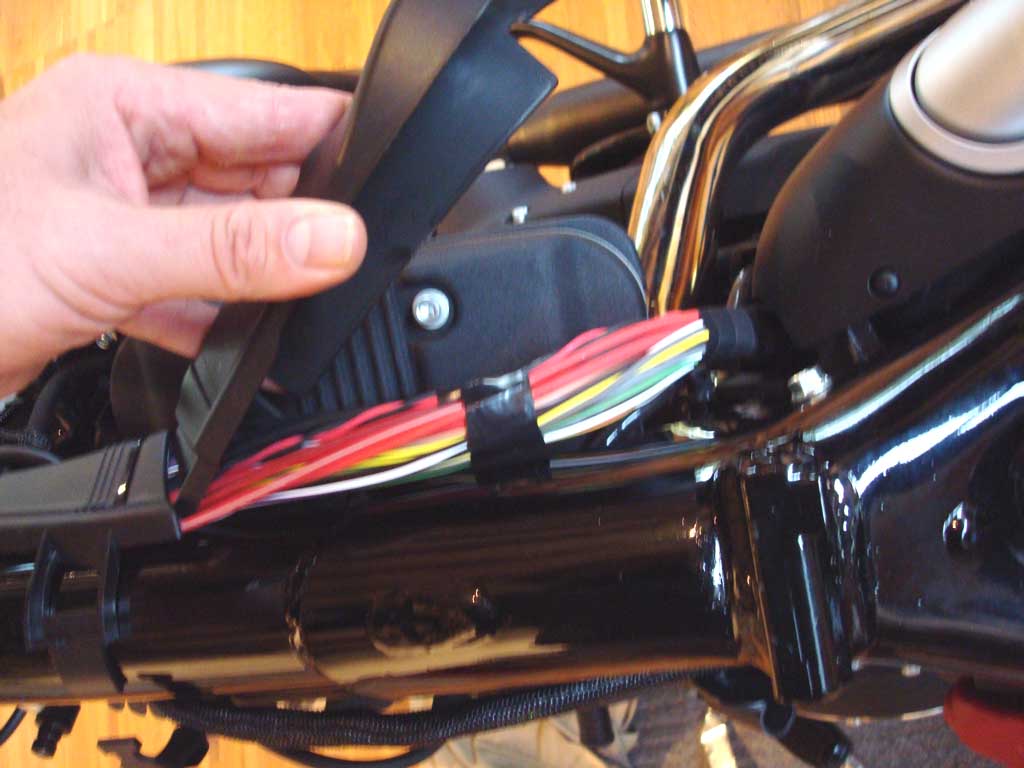
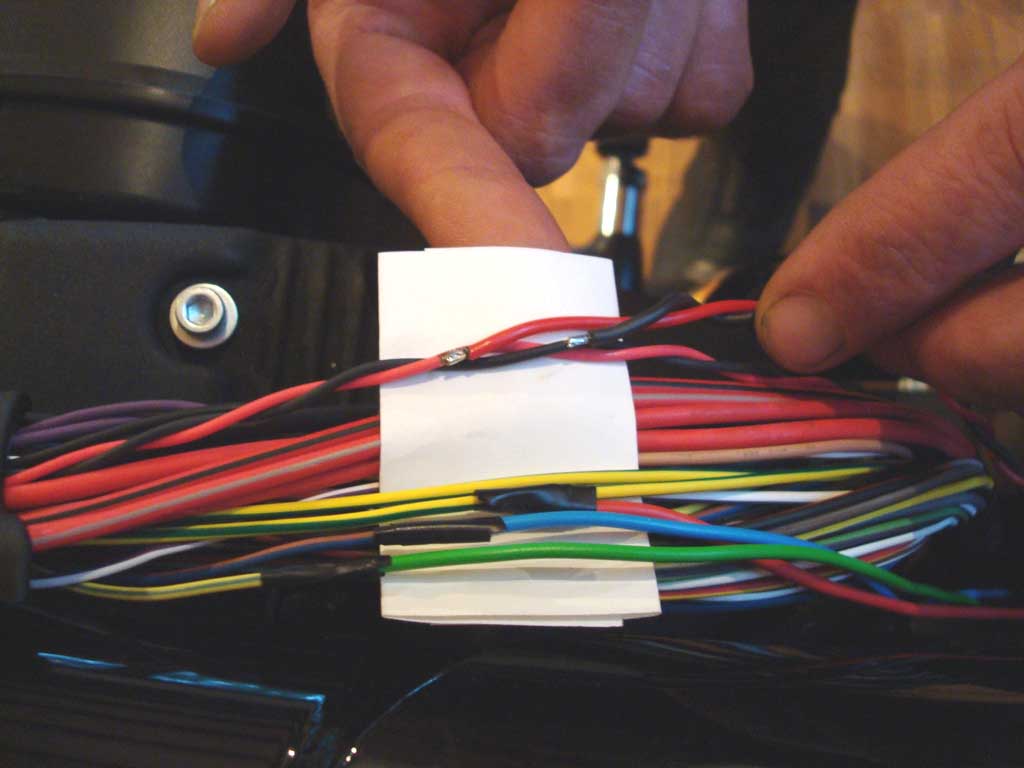
Locate crank-sensor cable (a red and black wire twisted together) and cut. The cable must be extended to reach to the AMM-P3. When extending the cable (by soldering) use the same colors (red and black) if you have and tightly twist all the way. Isolate the solder joints. Polarity of sensor-wires is important. If you extend with wires of different color, be sure to connect to the AMM-P3 in the correct polarity.
If you convert a XR1200 and want to keep the stock tach, the EFI module must also get the sensor signal, so in this case you will not cut the sensor pair but split the signal and run to the P3.
The 4 coil-wires will also be cut and extended to the P3 module. Tape all solder joints and ends that go to the EFI. Now you just have to get a decent frame ground and switched power to the AMM-P3. Your power-line is a white-black wire. This wire carries kill-switched power, which means, that you can stop the engine by pressing the kill-switch on the handlebar. The white-black wire is not cut but branched off (soldering) by a red power wire in order to reach to the AMM-P3. Don't forget to isolate the solder joint afterwards.
If you are building a custom bike you would possibly discard the complete stock wiring harness as well all those plastic wire covers. The frame of the new Sportys looks very cool when all the cable salad and plastic is removed.
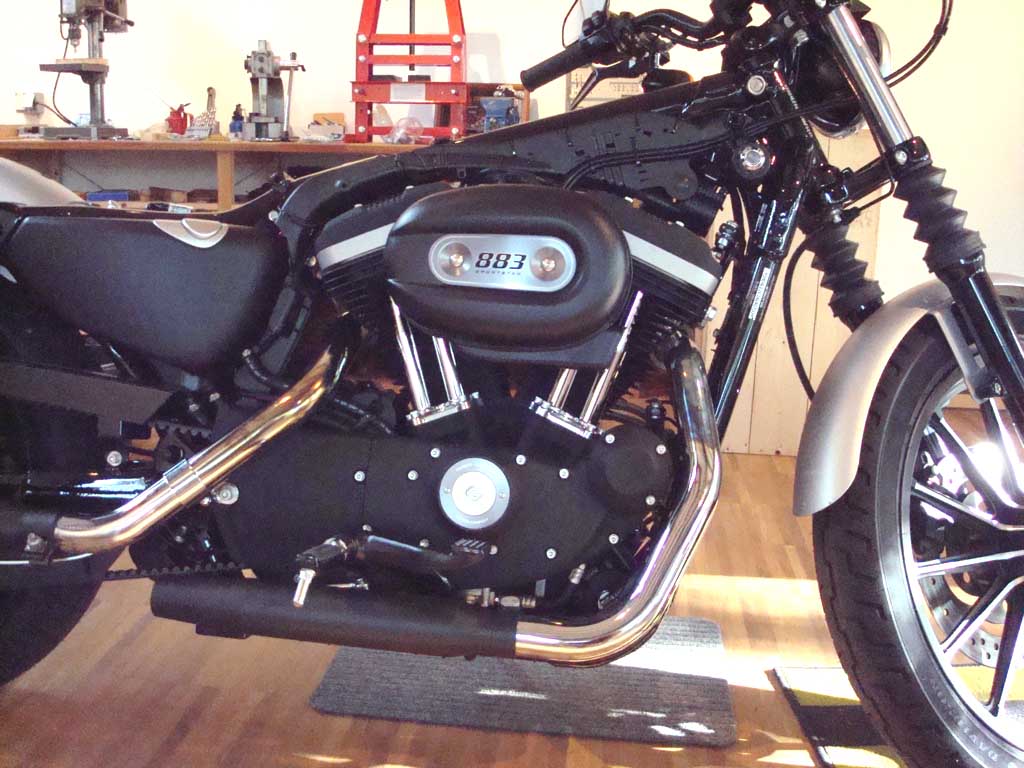
Finished :-)
Now go for a ride, and tell us about it.

Here's a small video of the upgraded bike.
Note: 1) Your turn-signal or security module works as before with only one difference. When security system armed, the starter-motor will not turn (as before), but when ignition switch is bypassed, the AMM-P3 will get power and the motorcycle can be started by rolling-it-on. In other words: The security system does not tell the AMM-P3 to work or not to work. The AMM-P3 will be functional as soon as it gets power. 2) The bank angle sensor (inside turn-signal (security) module) is not connected to the AMM-P3, which means ignition will not be interrupted when bank angle sensor detects lean of more than 45 degrees from vertical. However, excessive vehicle lean will still disable turn-signal lamps and starter motor.